Allyson, with her keen eye for historic narratives and Scotland’s rich tapestry, relies on her bike to explore and capture the essence of her stories. Recently, we noticed her bike was due for some necessary upgrades. With brake issues and a less-than-ideal water bottle setup, it was time for some attention and love.
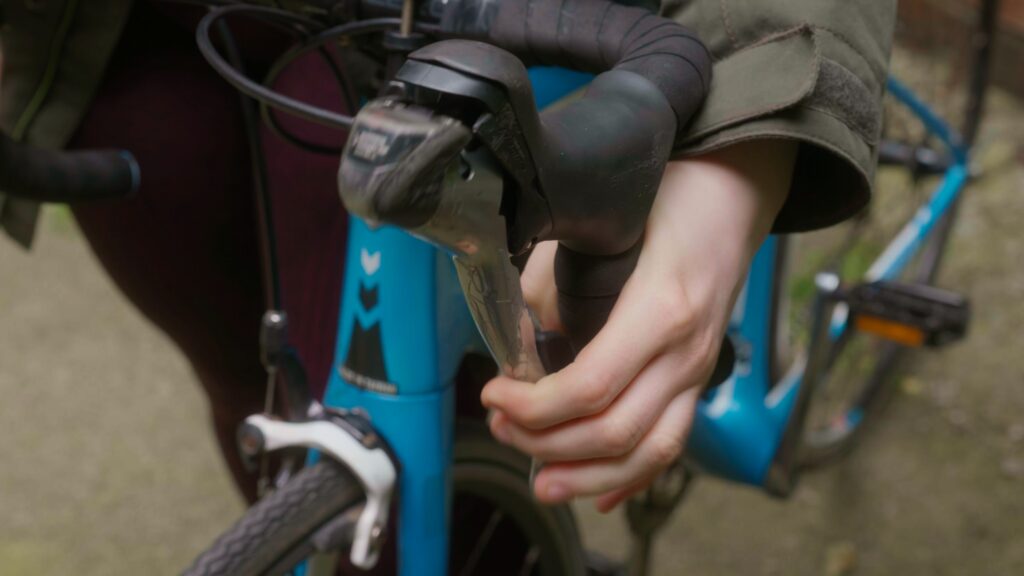
Today, I finally planned to tackle a very important repair that I had been neglecting: upgrading Allyson’s bike. As a narrative artist and beginner cyclist, Allyson relies on her bike not only to explore but also to carry her safely through the hills and valleys of the Scottish countryside. Recently, the struggles she had with her brakes and the fussiness of her water bottle setup were too evident to ignore. After a difficult climb, there’s nothing more fun than shooting down the other side, gathering as much momentum as possible to get back up the next hill. With her current road bike brake handles, Allyson mostly rides in the hoods, the topmost part of the brake handle, which doesn’t provide much leverage. Given the curvature of the handlebar, she wasn’t comfortable grabbing the brakes from the bottom, “the drops,” which she couldn’t reach since she has the cutest teeny tiny fingers.
Thus began the maintenance saga of Allyson’s bike—an essential step to ensure her stories continue uninterrupted.
Restoring the Stopping Power
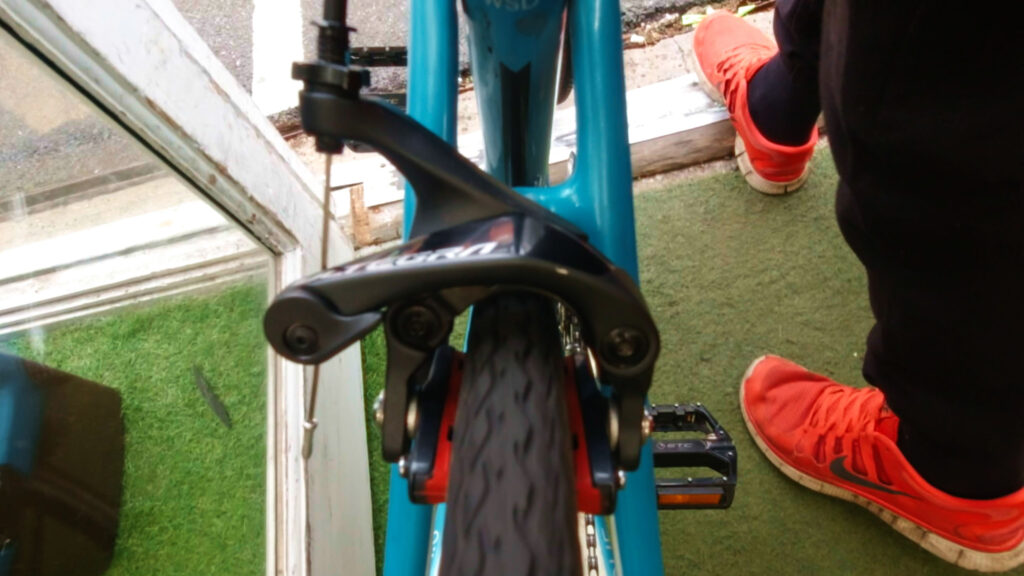
Allyson’s primary issue was her inability to effectively grip the brakes while riding in the drops. This not only affected her comfort but also her safety. The solution was clear: installing Shimano Ultegra BR-R8000 rim brakes. Compared to the Shimano Tiagra brakes her bike was previously equipped with, these brakes offer dual pivot technology, meaning they apply stronger pressure on the rims and should make braking easier, which is precisely what Allyson needed for her adventures.
Hydration Made Easy
Next on the list was making hydration more accessible. Allyson had been struggling to grab her bottle with one hand while riding, and the shape of her compact frame didn’t help in pulling the bottle out of a standard-size bottle—or should I say bidon—holder.
She tried a CamelBak, but what serious cyclist does that? She spent more time fumbling around with the tube, which ended up leaking all over her and her back, than she did fumbling with the shifters, and that’s saying something.
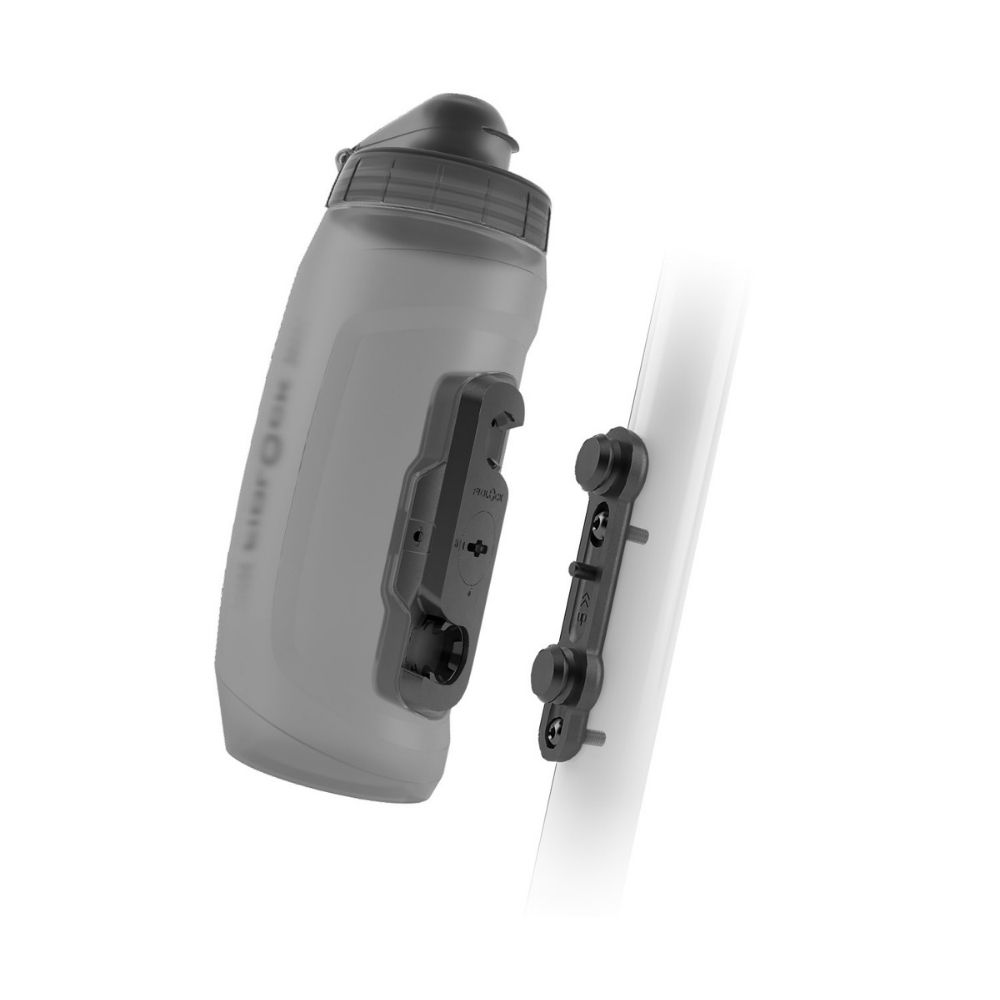
So I went back to the drawing board and did some research, which brought me to the Fidlock Twist Magnetic Water Bottle. This easy-to-use and incredibly practical upgrade should ensure she always has quick access to water, crucial during long and often arduous rides.
The Cable Fiasco
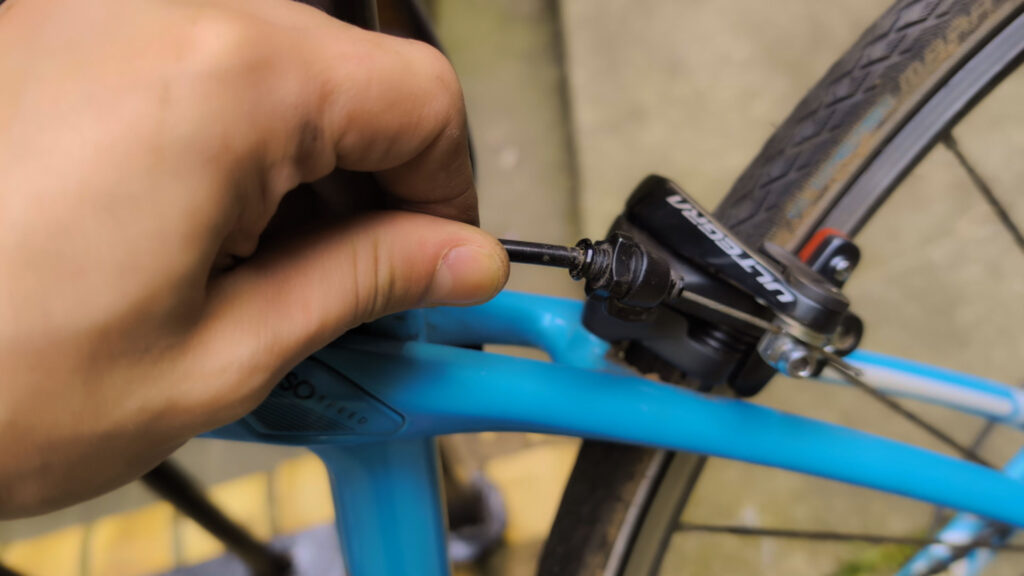
Initially thinking that her brake sticking was due to her rear brake calipers having seized, I got the upgraded Ultegra model, hoping for an easy swap. It’s literally just a single bolt and shouldn’t take too long. But, as with any bike maintenance endeavour, there are always unforeseen complications. While installing the new brakes, I discovered that the outer cable sleeving was too short, which meant the rear brake cable had frayed, rusted inside the outer sleeving, and with strands of the cable wrapping around each other, created a lot of friction, causing the brakes to stick.
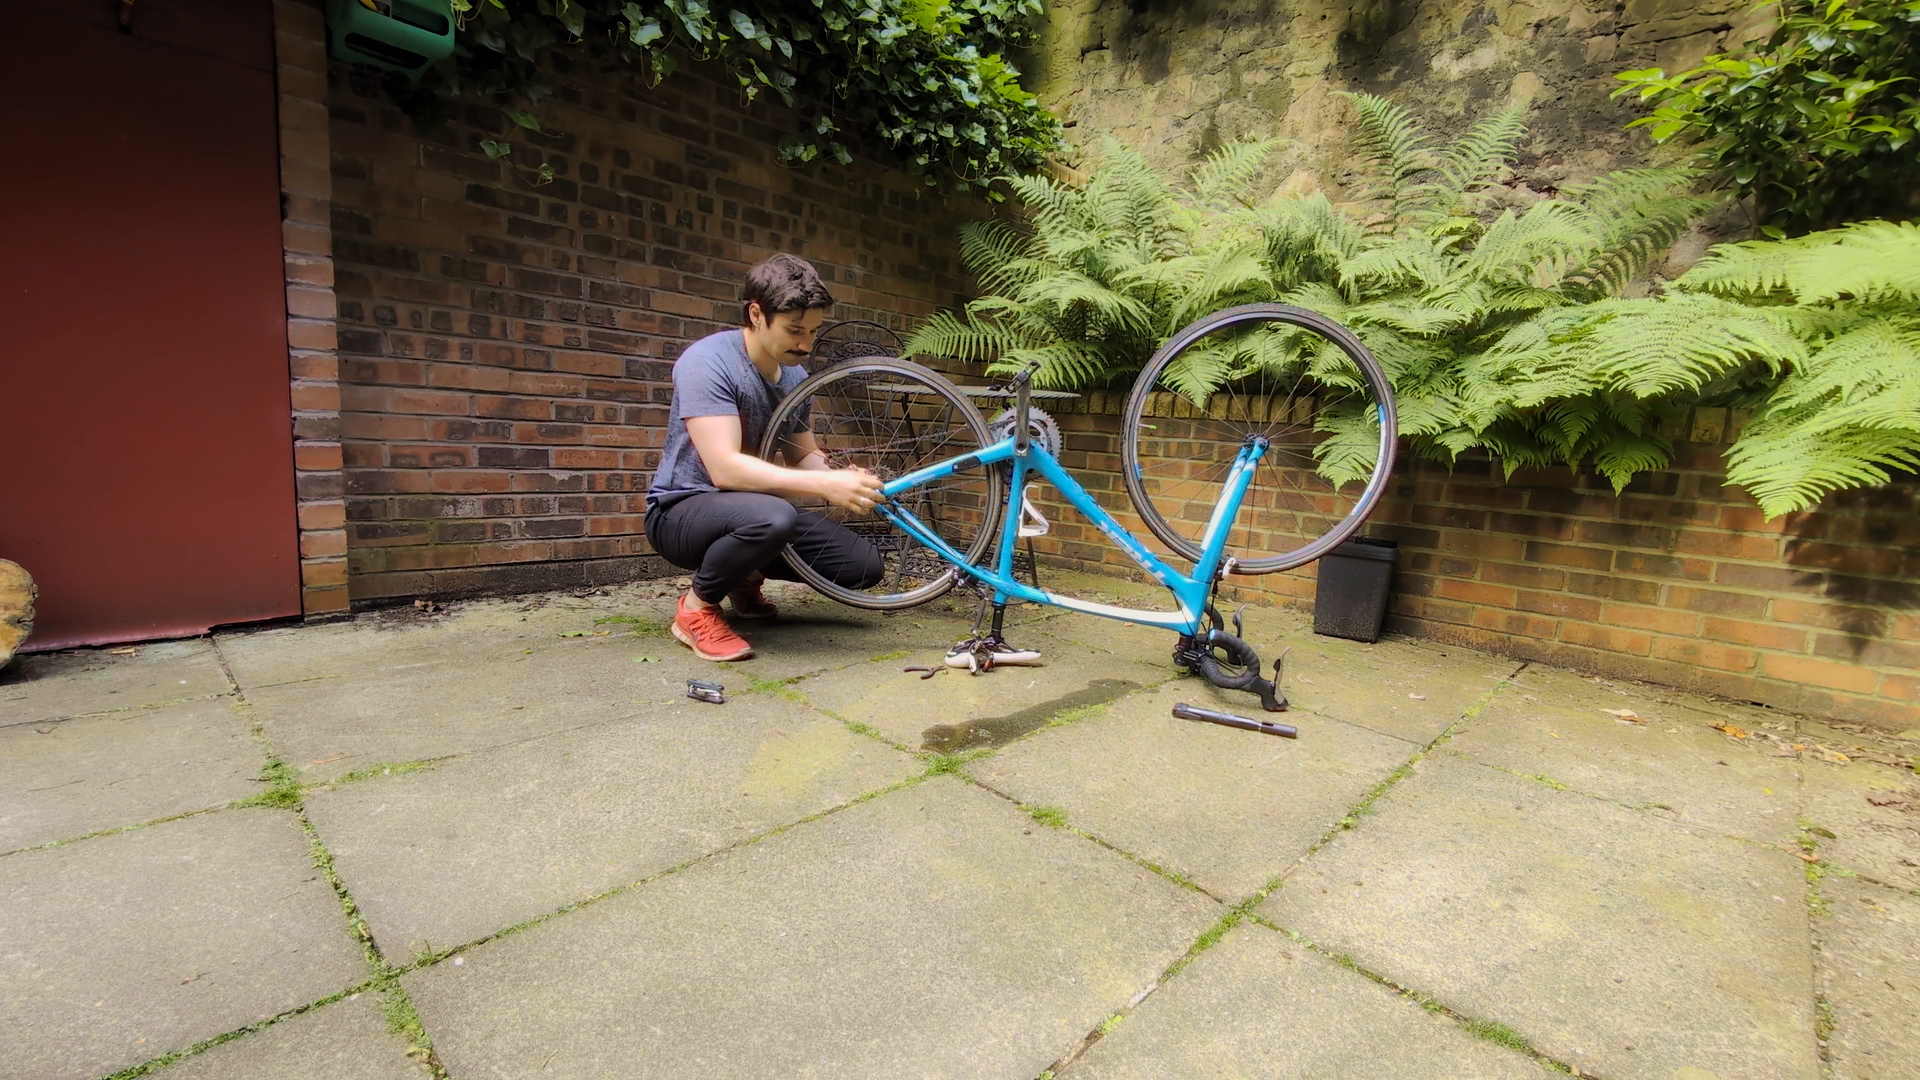
Swapping cables isn’t particularly hard, and it’s something everyone should do more often, but I had used up my last set on my Trek Domane last autumn. So, I had to make a run to the local bike station, where I started volunteering, to borrow some tools and perform another quick repair. What followed was a lesson in patience and precision. The cable runs from the back of the brake handle apparatus under the handlebar tape, then through the frame and out the other side. Luckily, there is a tiny plastic piece that can be removed to access the inside of the top tube, but fishing the cable out remained tricky. I tried calipers, but that didn’t work. I tried a piece of plastic, which didn’t work either. After a ton of frustration and wondering if a magnet would do it, I tried a spoke—just a simple bike spoke, which the shop has hundreds of. With the curved end, it hooked the cable perfectly. Well, it took about a dozen attempts and a few times of me murmuring profanities, but we got there. I then had to cut a new piece of outer sleeving to exactly the right length without knowing what that length was, since my only reference was the old piece I had in my hand, which was too short. So, I resorted to following the old adage of “measure once and cut 15 times” until it got to the right length and got the brakes all hooked up.
When running a new cable, don’t forget to lubricate it to avoid rusting and make it smoooooth.
I tried pulling the brake handles and, ta-da, it all worked perfectly.
A Handlebar Swap: Precision and Comfort
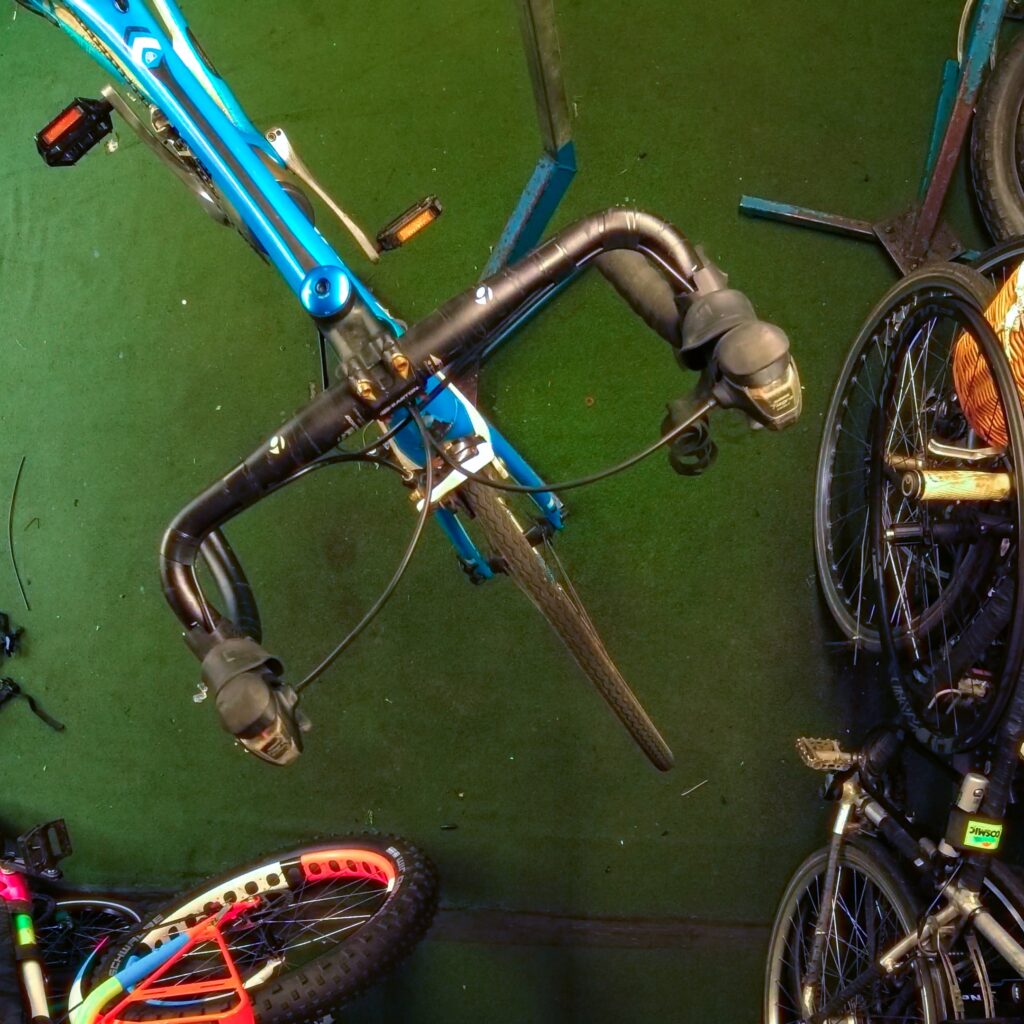
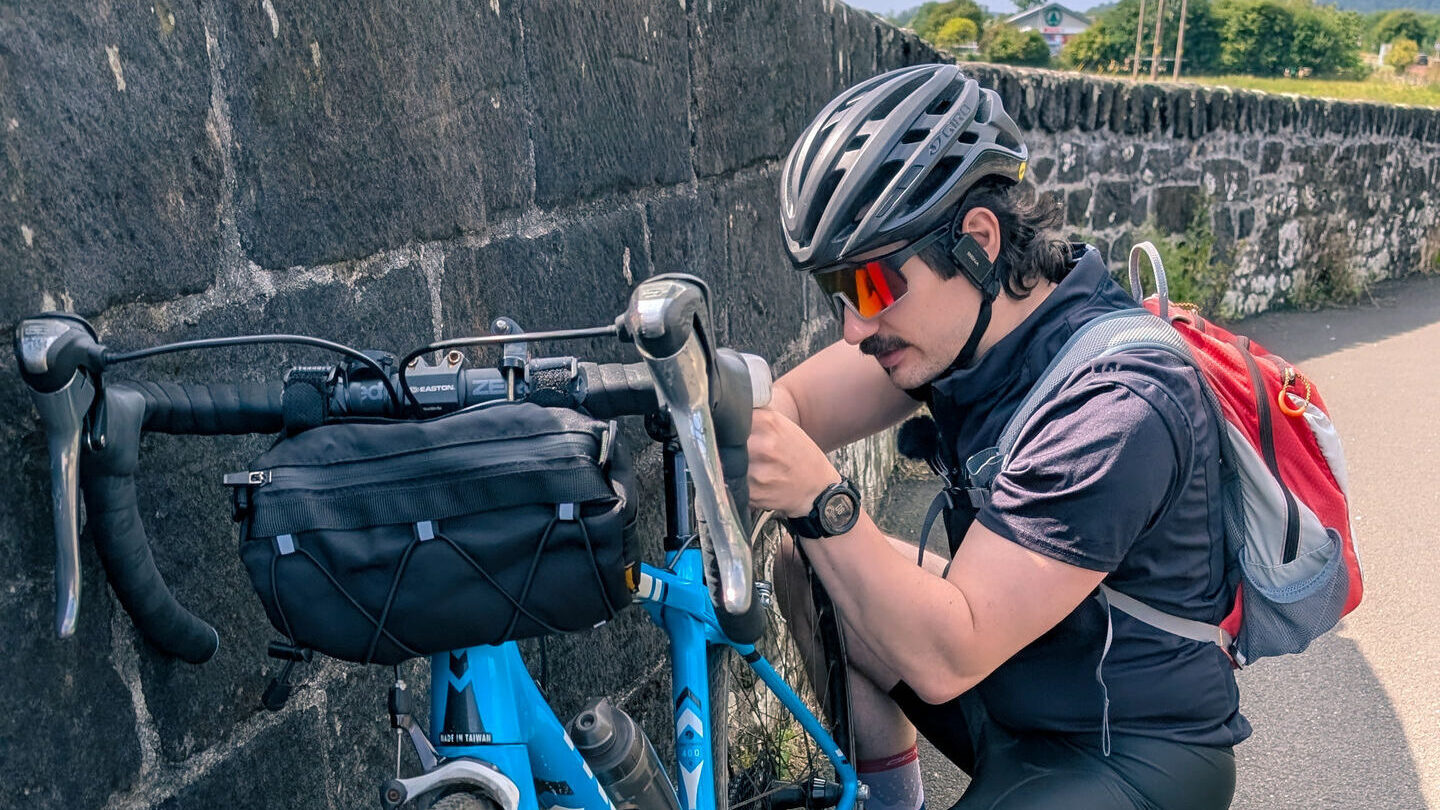
The bike’s handlebar was another critical upgrade. Allyson needed a short-reach handlebar to comfortably grasp the brakes. Her bike frame was too big for her, and she couldn’t get into the drops to pull the brakes effectively. The installation of a new handlebar would hopefully improve ergonomics and enhance her overall riding experience. Swapping the handlebars was straightforward and quite satisfying—simply remove the old tape, loosen some bolts, swap to the new bars, and wrap it up again.
I could’ve done a better job with the Prologo bar tape, but I aimed to minimize the layers on the inside of the drops to get Allyson’s hands as close as possible to the brake handles. Yes, I put in shimmies to bring them closer, but they can’t be too close due to the need to pull back to brake.
Yet Another Discovery: The Derailleur Hanger
As I was finishing up, adding the final touches and cleaning the groupset, jokey wheels, and chain, I tried to dial in the rear brakes. I noticed that the wheel wasn’t sitting straight. The quick release spring on the axle was installed backward, and when I straightened the wheel, the gears needed reindexing. It was puzzling, behaving erratically.
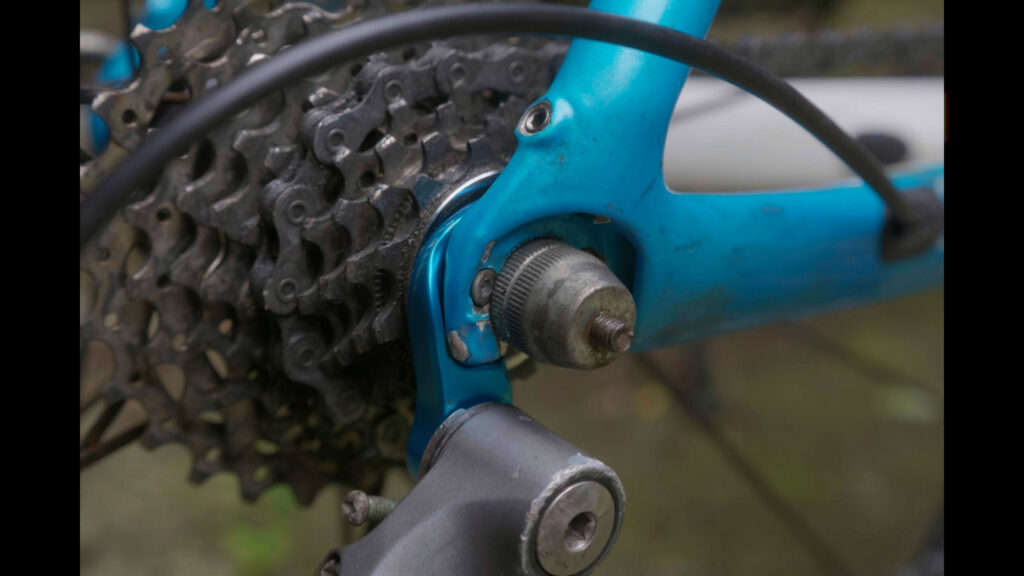
Upon closer inspection and under the gaze of one of the mechanics, we discovered a loose derailleur hanger. It’s a small metal piece connecting the bike frame to the derailleur, designed to bend to save the bike from damage. The loose hanger was due to a stripped screw and posed a risk of potential damage. The chain could fall off, the derailleur could fall into the wheel and cause significant damage or an accident. Very unlikely, but not a risk I’d take. I will have to order another part and wait until her bike is ride-ready and safe.
Conclusion: Gearing Up for New Stories
Despite the numerous challenges, there’s an inimitable joy in ensuring every part of a bike is impeccable. Allyson is very happy with the upgrades; it seems she can reach the brakes much better now. The water bottle is a fun addition and my biggest recommendation. It took less than five minutes to install and is just really fun to use.
Stay tuned as we continue to blend the realms of technology, history, and cycling, inspiring local exploration and celebrating the untold tales accessible by bike. Here’s to many more adventures on the horizon, each pedal stroke a narrative in the making.

Leave a Reply